 |
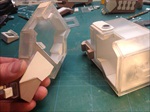
Thickening up the walls so they are rigid coming out of the
mould. Location tangs also there so it all clips together without any guess
work. |
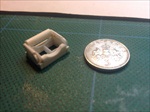 |
Just made ONE of these and then cast it three times to make
another pattern which then would be cast, three at a time on a back plate.
The one which they left off in a shot in the film (oops) |
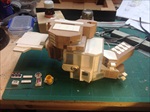 |
I think all the bits are now ready for moulding |
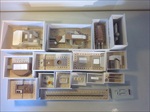 |
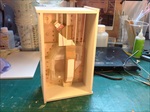
Most of these are two part moulds to reduce the stress of
stretching the rubber around the casting in the future. Rubber gets brittle
after 30 or so pulls and I dont want it tearing too early. These patterns
are sat on a plastiline wall and there are more risers to go in that half
when this first layer of rubber has cured. |
 |
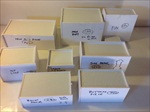
Lots of risers for the air to escape. One half cured, the
Plastiline has been removed and extra risers have gone in before I pour
the final half. |
 |
The last of the rubber is poured. I end up using £200
worth of silicon...and no waste. |
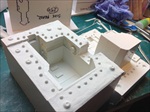 |
Typical mould showing all the location pips. (something round
pressed into the plastiline wall before the first half was poured) |
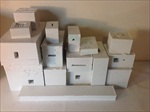 |
All the moulds ready to be put through their paces |
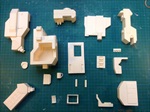 |
The majority of the pieces. this is the first set and will
be the ones I finish off for promoting the kit |
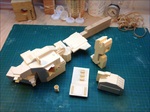 |
Coming together nicely |
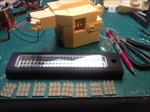 |
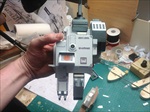
A tesco worklight is butchered (run through the bandsaw) for
Gertys main screen. I get 8 per lamp. You can see one in position in the
kit. |
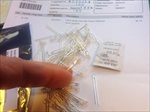 |
for the two strip lights top and bottom, I used micro LEDS.
7 per strip, all soldered very close to one another. |
 |
The finished Kit...now to throw coffee at it like they did
on the stage. |
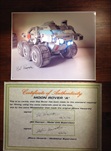 |
A certificate of authenticity signed by Bill Pearson and Myself. |
